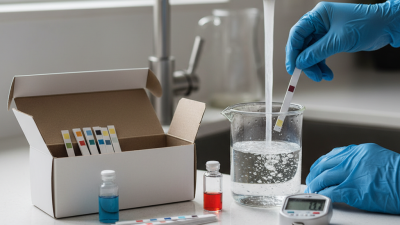
7 Tips for Buying Water Hardness Test Strips
Hard water can leave chalky rings on a kettle, stiff towels, and scale around a faucet. Yet appearance alone cannot tell you how hard your water is. Water hardness test strips offer a quick screening check, but brands differ in scale, reading time, and color clarity. A pale square can be surprisingly easy to misread under warm kitchen lighting.
Water-quality chemist Dr. Joseph Cotruvo is a relevant expert voice on water testing. I can’t verify a direct quotation from him on choosing test strips, so I won’t invent one. A useful editorial reminder is: “A strip is a starting point, not a complete water analysis.” Keep that distinction in mind when comparing products. Check the hardness range, units, number of tests, and instructions before buying. Also consider whether the color chart is readable without guessing.
Small details matter. Some strips report grains per gallon; others use parts per million. Those units are not interchangeable without conversion. Look for sealed packaging and a clear expiration date, since moisture and age may affect results. If you need a dependable baseline, compare the strip’s reading with your water supplier’s report or a suitable laboratory test. Test more than once if results seem inconsistent. A strip may be convenient, but it is not magic.
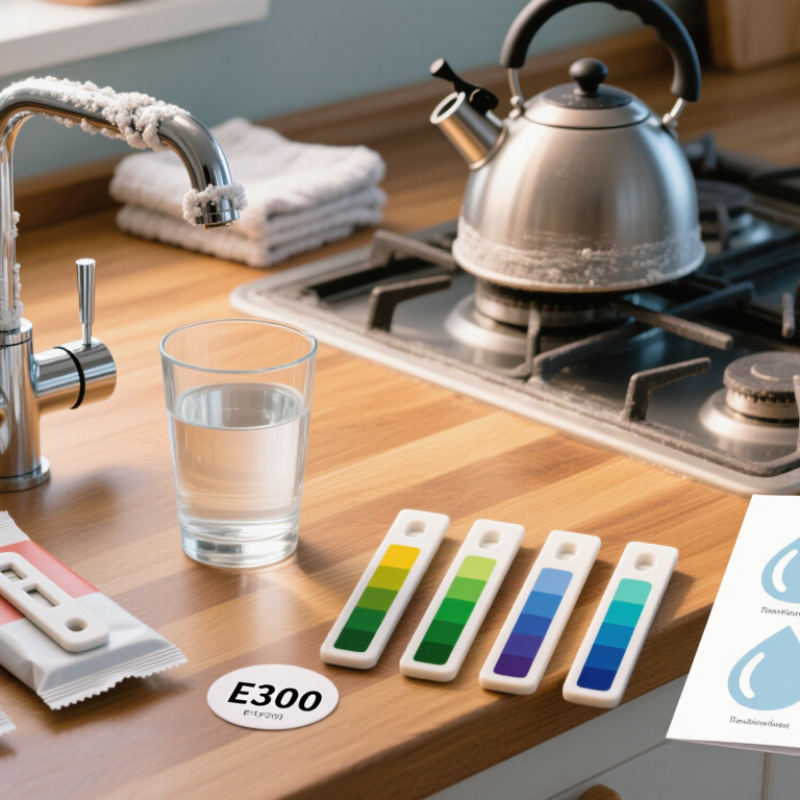
Identify Your Target with USGS Bands: 0–60 to >180 mg/L as CaCO₃
Water hardness strips are most useful when their color blocks match the ranges you care about. USGS categories commonly describe 0–60 mg/L as CaCO₃ as soft, 61–120 as moderately hard, 121–180 as hard, and values above 180 as very hard. Check that a strip’s scale covers your likely range. A scale that stops at 180 may not distinguish very hard water.
Read the package details before buying. Look for results reported in mg/L as CaCO₃, not just vague labels such as “low” or “high.” Check the color chart’s increments, too. Narrower steps can help when your result sits near a boundary, though strip readings remain estimates. Keep it practical.
Testing technique matters. Use a clean glass, follow the stated dip time, then compare the pad at the exact time listed. Kitchen lighting can distort colors. I once found a borderline shade hard to call, and that uncertainty is worth acknowledging. Test a second sample if the result seems surprising. For precise decisions, confirm with a suitable laboratory or professional test.
USGS Water Hardness Bands (mg/L as CaCO₃)
USGS classifications are soft at 0–60 mg/L, moderately hard at 61–120 mg/L, hard at 121–180 mg/L, and very hard above 180 mg/L as CaCO₃. The bars show the upper thresholds of the first three bands; very hard water has no fixed upper limit.
Compare Test Ranges and Units: 1 gpg Equals 17.1 mg/L as CaCO₃
Before buying hardness test strips, compare their measurement range with the hardness you expect.
Packaging may show grains per gallon (gpg), milligrams per liter (mg/L), or ppm. Check the units carefully.
One gpg equals 17.1 mg/L as calcium carbonate (CaCO₃). For example, a result of 171 mg/L is about 10 gpg.
If two products use different units, convert the values before comparing their ranges.
Choose strips that cover both your likely result and the levels you want to distinguish. A narrow range can help track small changes, while a broader range may suit an initial check.
Look for clear instructions on how long to dip the strip and when to read its color.
Timing matters. A strip read too early or late may not match the chart. Keep the chart in good light, and compare colors promptly.
A tidy number can feel reassuring, but strips provide an estimate, not laboratory precision. Some color blocks are hard to tell apart; that part can be frustrating.
Check the expiration date, store strips dry, and repeat a surprising result with a fresh strip. If the label’s units or conversion basis are unclear, pause before interpreting the reading.
Choose Strip Sensitivity That Fits Your Expected Hardness Level
Choose test-strip sensitivity to match the water you expect, not just the broadest range on the package. The USGS groups hardness as soft at 0–60 mg/L, moderately hard at 61–120 mg/L, hard at 121–180 mg/L, and very hard above 180 mg/L, expressed as calcium carbonate. Check the USGS Water Science School’s “Hardness of Water” guidance against local water-quality information before buying. A household supplied by groundwater may need a different range from one using treated municipal water.
Resolution matters. If your water is expected near 100 mg/L, a strip that only separates “below 150” from “above 150” offers little useful detail. Look for graduations close to the level you want to monitor, and confirm whether the package reports mg/L or grains per gallon. Those units are not interchangeable. A narrow-range strip can help track small changes, while a wider-range strip may be more practical when the expected level is unknown.
Read the color promptly and under good light; damp fingers or a faded chart can muddy the result. A small caveat: home strips are screening tools, not laboratory measurements. If a result sits near a category boundary, repeat the test or seek a more precise analysis. It is easy to overread one tiny color shift.
Check Color-Chart Read Time and Instructions for Consistent Results
The color chart is useful only when you read it at the time specified in the instructions. Some strips develop quickly; others need a longer wait. Set a timer rather than counting in your head. Even a short delay can change how a shade appears. Follow the stated dipping time, too, and keep the strip at the recommended depth. Don’t shake or blot it unless the directions say to.
Lighting matters. Compare the pad with the chart in bright, neutral light, not under a yellow kitchen bulb. Hold the strip beside the matching scale, and avoid touching the test pad. Small details can blur the result. It sounds fussy, and sometimes it is. Still, a strip read too early or too late may suggest the wrong hardness range. Check the package for storage guidance and an expiration date, since heat or moisture can affect unused strips. If the color sits between two chart blocks, note both possibilities and repeat the test with a fresh strip. Record the result and its units, such as grains per gallon or milligrams per liter. The chart is a guide, not a precision instrument. For an important water-treatment decision, confirm an unclear result with a more reliable test.
Assess Expiration Dates, Sealed Packaging, and Storage Requirements
Before buying water hardness test strips, check the expiration date and the condition of the seal. Moisture can trigger reactions before a strip touches water. A loose cap, torn foil pouch, or clumped desiccant is a warning sign. Check the label for storage limits, too. Heat, steam, and direct sunlight can shorten a test strip’s useful life. A bathroom shelf may seem convenient, but it is often warm and humid. Keep strips in their original packaging, away from sinks and windows. Small details matter. Storage guidance varies by product, so do not assume every strip has the same shelf life.
The USGS classifies water as hard at 121–180 milligrams per liter, measured as calcium carbonate, and very hard above 180 milligrams per liter. These thresholds help explain why a faded or poorly stored strip could mislead a purchase decision. The World Health Organization’s Guidelines for Drinking-water Quality note that hardness is generally an acceptability concern, rather than a health-based guideline value. Strips are useful for a quick household estimate, but they are not equivalent to laboratory analysis. Compare the package’s expiration date with your expected use, and choose sealed units you can store as directed. I may be cautious about a slightly damaged pouch; replacing it costs less than trusting a questionable reading.